With Salesforce releasing progressive rendering in Communities in the Summer 2018 release, one can have finer control over display time performance and polish your community’s experience to better engage customers. This feature is available only in Enterprise, Performance, Unlimited, and Developer Editions.
What is Progressive Rendering?
Progressive Rendering of pages and images in its simplest is a technique in which the page begins to appear, and the text can be read even before all the text and/or images have been completely downloaded.
Need for Progressive Rendering in Community Cloud
Some of your Community pages might take a long time to load before you see the components rendered on the screen. This degrades the user experience with your community. But don’t worry Progressive Rendering comes to your rescue.
Progressive Rendering is designed to help improve the performance of your page by fetching and rendering page components in a parallel and prioritized manner. You can run a Community optimizer tool which is available as a chrome extension to see if Progressive Rendering is a good choice for your community pages and to get suggestions on how to prioritize your components. It can also help you evaluate the performance impact of your configurations.
Getting started with Progressive Rendering in Community Builder:
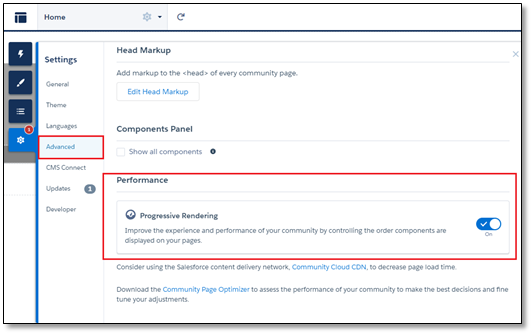
1. Enable Progressive Rendering from Community Builder advanced settings.
2. Select a component and click on Assign Display Priority in the builder.
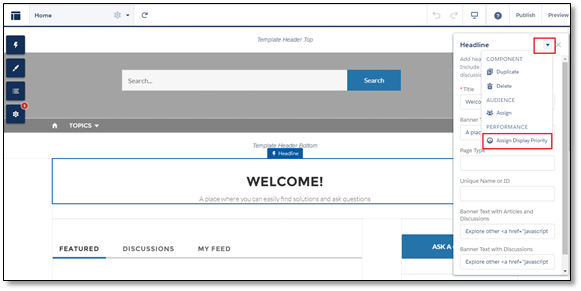
3. Choose the appropriate priority and click Assign.

There are 3 priority choices mentioned as below:
- Highest: – Highest priority components are displayed first. This priority is recommended for key content that you want to display first or content that appears above the fold on longer pages.
- High: – High priority components are displayed after all components in the Highest group.
- Neutral: – Neutral priority components are displayed after all other components that have a higher priority. By default, all components begin with a Neutral priority.
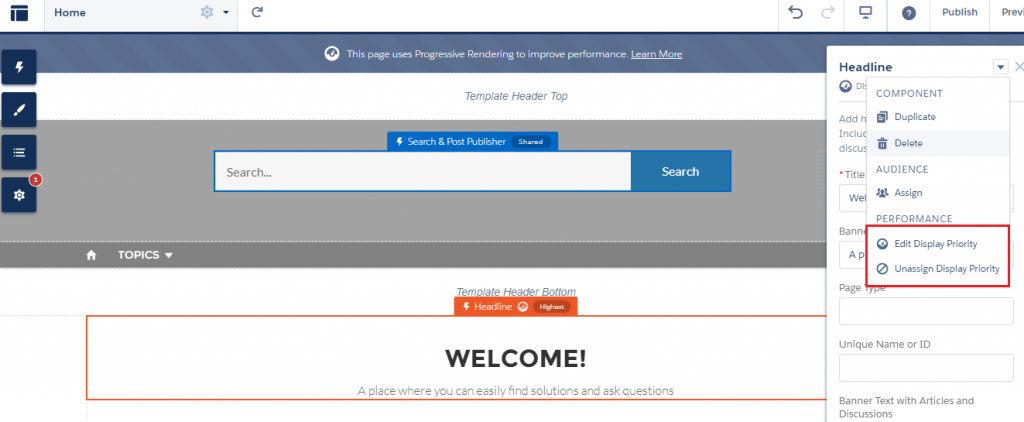
4. To change the priority select Edit Display Property. To remove the priority, select Unassign Display Priority.
*Note: Only top-level components can be assigned priorities. You can’t assign priority to a nested component.
Test, test, test:
Because Progressive Rendering requires careful planning and testing, it is off by default. Once you have enabled progressive rendering and assigned priorities to your components and go to a community page, the page is rendered roughly and then the components are added in decreasing order of their priorities. As the components are loaded the page will rearrange itself depending on which components are prioritized and who quickly they load.
Since there is no right choice for assignments, but a lack of planning can degrade performance and diminish positive experiences on your site. Always test your pages when you’ve made changes to your priority settings. Even when Progressive Rendering is turned off, your priority assignment settings remain in place making it easier to test when you switch Progressive Rendering back on.
Testing is required when you make changes to existing settings or insert a new component to the page to confirm that everything works fine, and the user has a rich experience with your community.
Leave A Comment